How a Mould for Plastic Injection Moulding Works
Plastic injection moulding is a cornerstone of modern manufacturing, enabling the mass production of complex plastic parts with high precision. Central to this process is the injection mould tool, a sophisticated device designed to shape molten plastic into the desired form. Here’s a step-by-step look at how a plastic injection mould tool works through a single machine cycle:
1. Core & Cavity
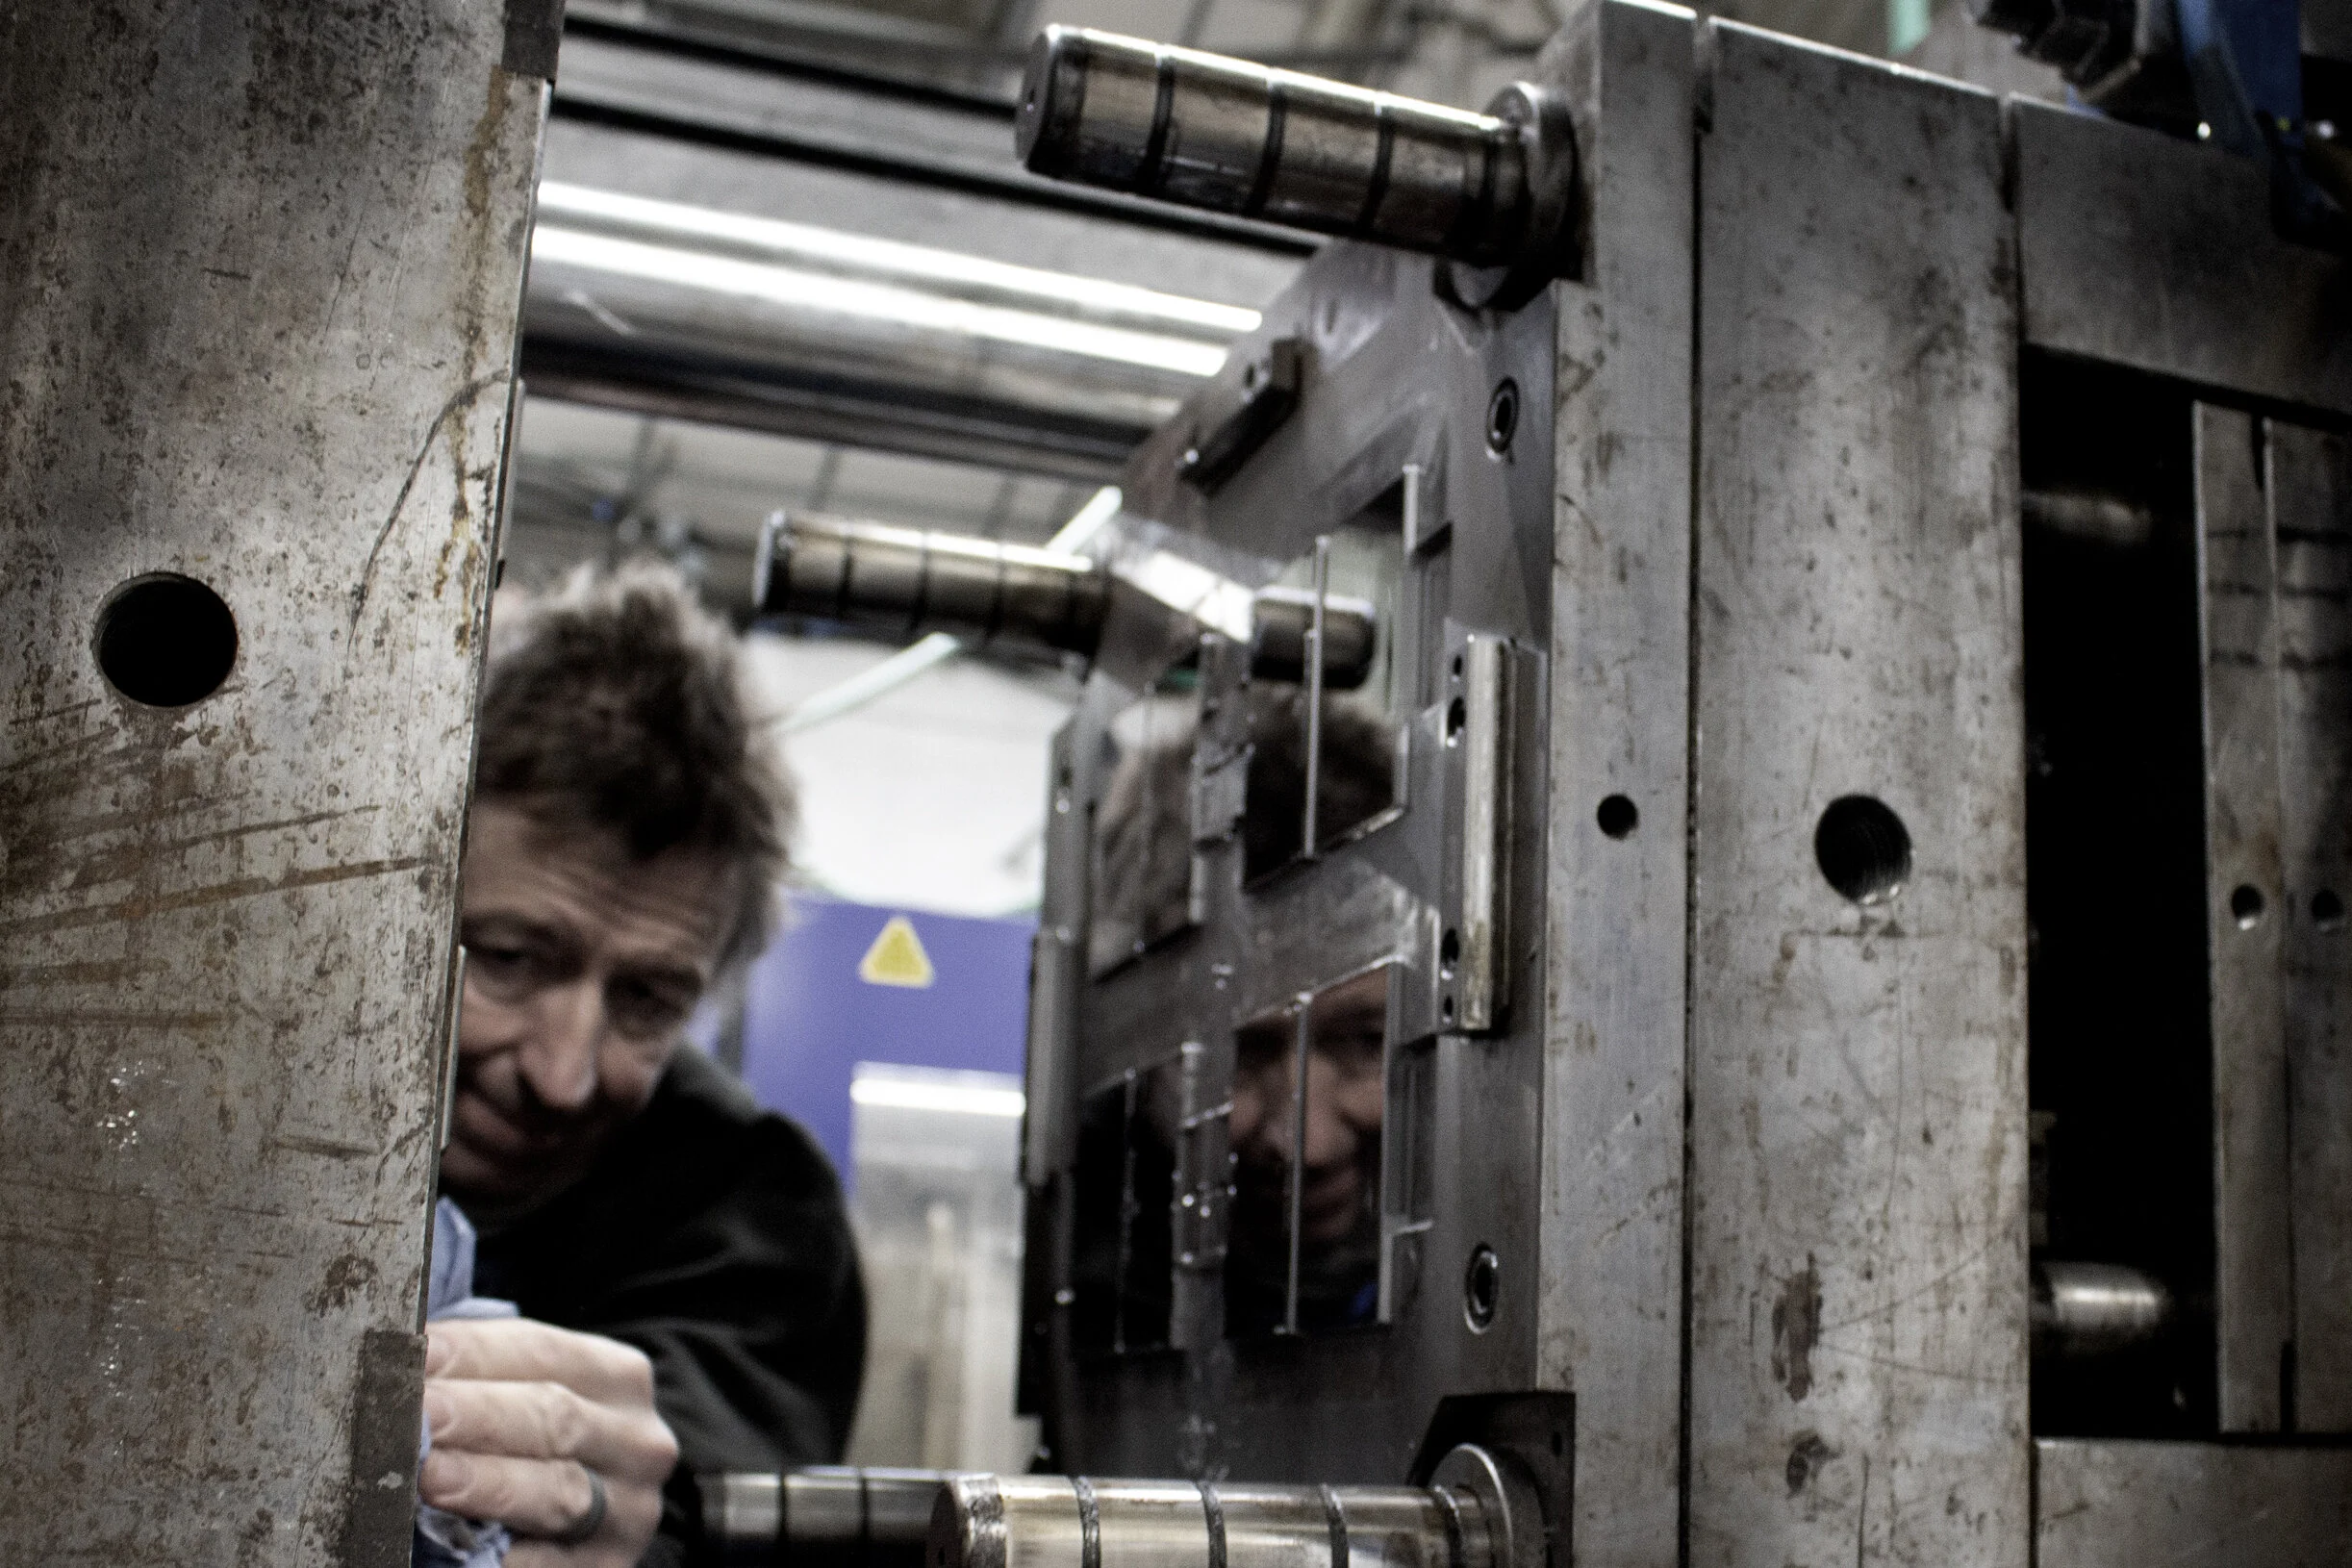
A mould consists of two halves: the "core" and the "cavity." The clamping unit on the injection moulding machine presses these two halves together under great pressure to prevent any plastic leakage during the injection phase. Once the two halves are held together under lock, the only space between them will be the form of the moulding. all other faces on the mould will be in contact so that no plastic may escape.
2. Injection
Once the mould is securely clamped closed, the injection phase begins. Plastic pellets are fed into a hopper, which directs them into a heated barrel. Here, the plastic is melted by a combination of heat and pressure from a reciprocating screw. This molten plastic is then injected into the mould cavity through a nozzle at high pressure.
3. Dwelling
After the molten plastic is injected into the mold, it enters the dwelling phase. During this stage, the screw continues to apply pressure to ensure that the mould cavity is completely filled and to compensate for any material shrinkage that occurs as the plastic cools. This ensures that the final part has accurate dimensions and surface details.
4. Cooling
The cooling phase occours next and is crucial as it solidifies the molten plastic into its final shape. The mould has built-in cooling channels through which water or other cooling fluids circulate to absorb heat from the plastic. Cooling time depends on the type of plastic and the thickness of the part. Proper cooling is essential to prevent defects such as warping or sink marks.
5. Ejection
Once the part has cooled and solidified, the mould opens, and the ejection system pushes the part out of the mould. Ejector pins or plates are used to release the part without causing damage. Sometimes, air blasts or other mechanical means are also employed to ensure the part is completely ejected.
6. Resetting
After ejection, the mould is closed again, and the process is repeated for the next cycle. The plastic injection mould tool is then ready for another round of clamping, injection, dwelling, cooling, and ejection. This cycle can be repeated thousands to millions of times depending on the tool's design and the material used, making it a highly efficient process for mass production.
Sourcing A Mould for Injection Molding from S.B.Weston
A plastic injection mould tool is a marvel of engineering, transforming raw plastic pellets into precise, consistent, and high-quality parts. Each phase of the injection moulding process—clamping, injection, dwelling, cooling, ejection, and resetting—plays a critical role in ensuring the success of the final product.
S.B. Weston have decades of experience and understanding in how these mould tools work and can offer, not only a tool building service but also tool repair and reconditioning. So, if you need a mold, have a mould that needs repairs, or, have an old mould that need a servicing, get in touch, we’d be happy to assist!